Mastering Furnace Repair: A Step-by-Step Guide Using a Multimeter
To troubleshoot a furnace step by step with a multimeter, start by turning off the power and removing the access panels. Then, use the multimeter to test the electrical components like the igniter, blower motor, and thermocouple for continuity or voltage.
You must also check for any loose connections or damaged wires. If you find any issues, replace the faulty parts accordingly. Remember to follow safety precautions and consult the furnace manual for guidance.
By systematically testing each component with a multimeter, you can pinpoint the source of the problem and ensure your furnace operates efficiently and safely. If you cannot do this by yourself, do not hesitate to contact us at Wayne Heating & AC. We offer top-notch furnace repair services at the most affordable rates in town.
A Comprehensive Guide on How To Troubleshoot Furnace Issues Using a Multimeter
Turn off the power and remove access panels.
Before you start troubleshooting your furnace with a multimeter, it's crucial to ensure your safety by turning off the power to the furnace and removing the access panels.
Doing this ensures you do not have to experience any electrical shocks, and it lets you access the furnace's internal components safely.
To shut off the power and safely remove the panels:
-
Locate the main electrical panel or circuit breaker for your home.
-
Identify the circuit breaker labeled for the furnace or heating system.
-
Flip the circuit breaker to the "off" position to cut off power to the furnace.
-
Wait a few moments to ensure that the power is fully disconnected.
-
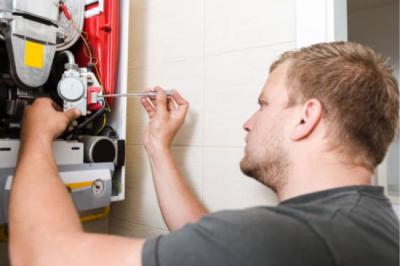
Using a screwdriver or appropriate tool, carefully remove the screws securing the access panels on the furnace.
-
Set aside the screws in a safe place to prevent loss.
-
Gently lift off the access panels and set them aside in a safe location.
-
Be cautious of any sharp edges or protruding components inside the furnace.
-
With the panels removed, you now have access to the internal components for troubleshooting or maintenance.
Test the igniter, blower motor, and thermocouple with a multimeter
Once you can access the internal components, you can test them using a multimeter.
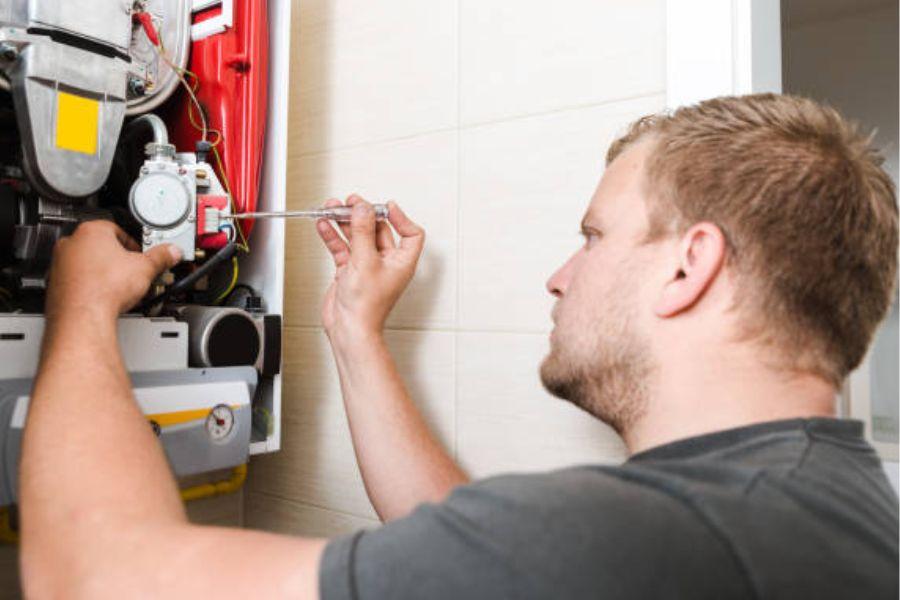
First, test the igniter responsible for igniting the gas in the furnace. Set your multimeter to the ohms setting and touch the probes to the terminals of the igniter. A reading of zero ohms indicates continuity and a functional igniter.
Now, test the blower motor responsible for circulating air throughout the furnace. Set the multimeter to the voltage setting and touch the probes to the terminals of the blower motor. If the motor receives the appropriate voltage but fails to run, it may be faulty and require replacement.
Finally, the thermocouple, which helps detect the presence of a flame in the furnace, is tested. Set the multimeter to the millivolt setting and touch the probes to the terminals of the thermocouple. A reading of around 25 millivolts indicates that the thermocouple is functioning correctly and detecting the flame.
Check for loose connections or damaged wires.
While testing the components in the furnace repair process, inspecting the wiring and connections for any signs of damage or looseness is essential. Faulty connections or damaged wires can disrupt the electrical flow and cause the furnace to malfunction.
Use your multimeter to test the continuity of the wires and ensure that they are securely connected to the terminals of the components.
If you detect any issues, tighten loose connections and replace damaged wires to restore proper functionality to the furnace. To do this:
Tighten Loose Connections:
-
Using a screwdriver or appropriate tool, gently tighten any loose wire connections.
-
Ensure connections are snug but not overly tight to avoid damaging the wires or terminals.
-
Double-check all connections to confirm they are securely fastened.
Replace Damaged Wires:
If you find wires that are damaged beyond repair, carefully remove them from their terminals.
-
Cut out the damaged portion of the wire using wire cutters.
-
Strip the insulation from the ends of the wire to expose fresh copper.
-
Insert the stripped ends of the new wire into the appropriate terminals.
-
Secure the wires in place using screw terminals or other fastening methods specified by the furnace manufacturer.
-
Ensure proper polarity and orientation of the wires according to the furnace wiring diagram.
-
Once all connections are secure and wires are replaced, reassemble the furnace panels and restore power to the unit for testing.
However, it is best to leave this job to the professionals as it can be very dangerous for an amateur person. At Wayne Heating & AC, we can perform all the furnace repair and maintenance services using advanced tools and technology to ensure quality service.
Seek professional help
if you are unsure about fixing common furnace problems yourself, it's always best to seek professional help. We have the knowledge, experience, and tools required to diagnose and repair furnace issues accurately and safely.
By enlisting the help of a qualified technician, you can ensure that your furnace is repaired correctly and efficiently, minimizing the risk of further damage and ensuring optimal performance.
Conclusion
In conclusion, mastering furnace repair with a multimeter is an invaluable skill that can save time, money, and hassle. Homeowners and technicians can diagnose and address furnace issues with confidence and precision by following the step-by-step guide outlined in this comprehensive resource.
Each step is crucial in ensuring a safe and effective repair process, from turning off power and removing access panels to testing components and checking for loose connections.
However, it's essential to recognize when professional assistance is needed, especially for complex issues or safety concerns. Individuals can maintain a comfortable and reliable heating system for their homes or businesses by prioritizing safety, accuracy, and efficiency.
At Wayne Heating & AC, we offer top-notch HVAC repair services. Our technicians can carefully inspect, diagnose, and repair all your furnace issues smoothly. So if you are not confident enough to do it yourself, do not hesitate to reach out to us.
Frequently Asked Questions
1. How do you diagnose a broken furnace?
Diagnosing a broken furnace involves checking for common issues like lack of heat, unusual noises, or malfunctioning thermostats.
2. How do you test furnace parts?
You can test furnace parts like the igniter, blower motor, and thermocouple using a multimeter to measure voltage and continuity.
3. How many volts does a furnace use?
Furnaces typically use 120 volts for the electrical components, while some high-efficiency models may use up to 240 volts.
We have used them for many years. They are the best in town.
- Michele Tetro Conlin
